Drink photography is one of the quickest ways into a place: a coffee on a Lisbon counter, a pour of tea in Kyoto, a mezcal in Oaxaca. This guide covers the light, glass, ice and styling decisions behind good beverage photography, and how to make every glass say something about where you are. If food and drink are where your stories begin, the Master in Gastronomic Journalism and Communication is built for that path.
What makes a good drink photo?
A good drink photo shows the liquid glowing, the glass clean and defined, and the drink in a setting that explains it. In practice that means three things: light coming from behind or beside the glass so it passes through the liquid, edges of the glass shaped by reflections you control, and a context (a bar, a counter, a hand, a landscape) that turns a beverage into a story.
What is beverage photography?
Beverage photography is the genre of photographing drinks (coffee, tea, cocktails, wine, beer, juices and soft drinks) for editorial, advertising, menus or social media. It sits inside the wider field of food and drink photography but has its own problems: liquids are transparent, glass reflects everything, ice melts and foam collapses within minutes.
Food is mostly about surface and texture; drinks are about light travelling through something.
Light: backlight and transparency
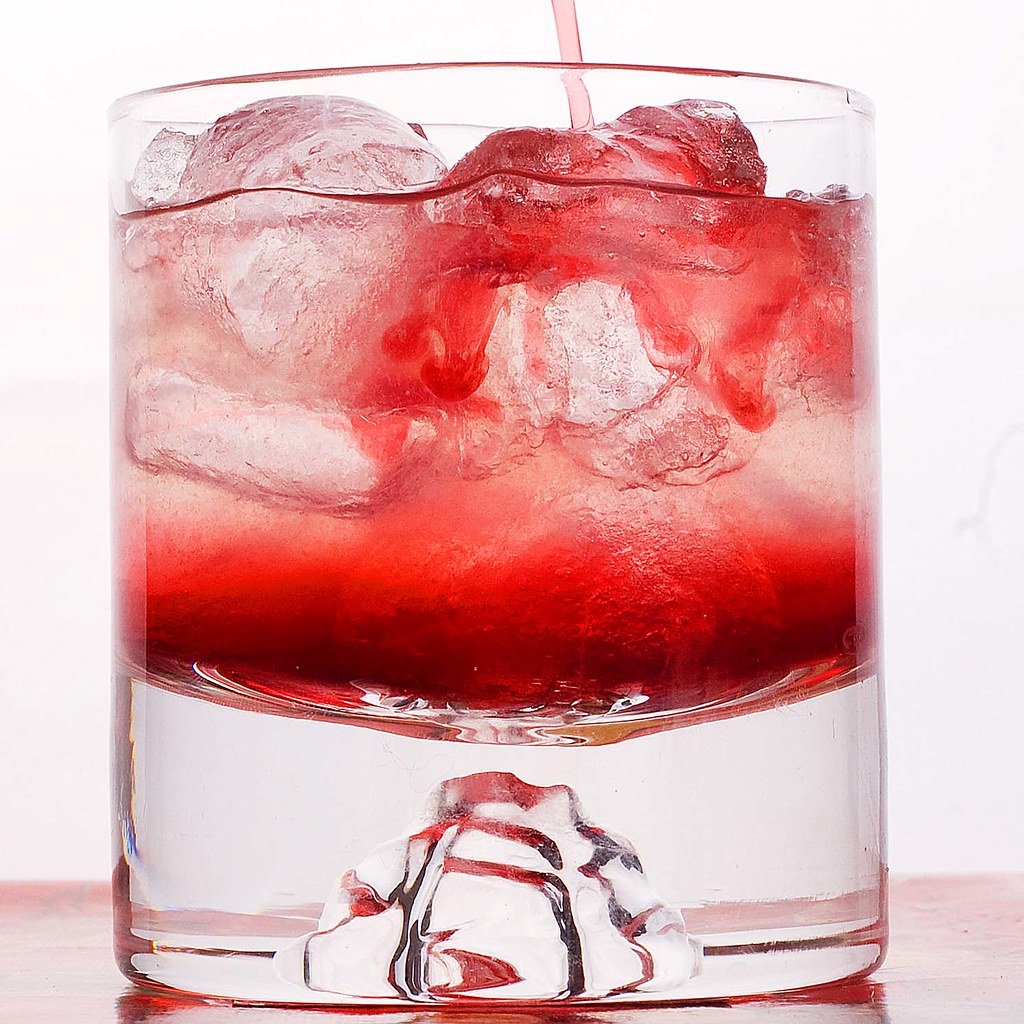
If you remember one rule, make it this one: light the drink from behind.
A liquid lit from the front looks flat and dark. Put the light source behind the glass (a window, a softbox, a white card bouncing sunlight) and the drink starts to glow: whisky turns gold, a negroni turns ruby.
A few ways to work it:
- Window behind, camera in front. The simplest setup and often the best. Diffuse harsh sun with a thin curtain or baking paper.
- Side-back light. Move the light 30 to 45 degrees off the axis to get glow in the liquid plus a highlight running down one side of the glass.
- A card behind the glass. Commercial photographers often place a small white or silver card just behind the drink, cut to the shape of the glass, so only the liquid is lit and the background stays darker.
The background matters more than with food. Because the drink is translucent, whatever sits behind it becomes part of its colour. A busy background turns the liquid muddy; a clean, softly graded one makes it read clearly.
Glass and reflections
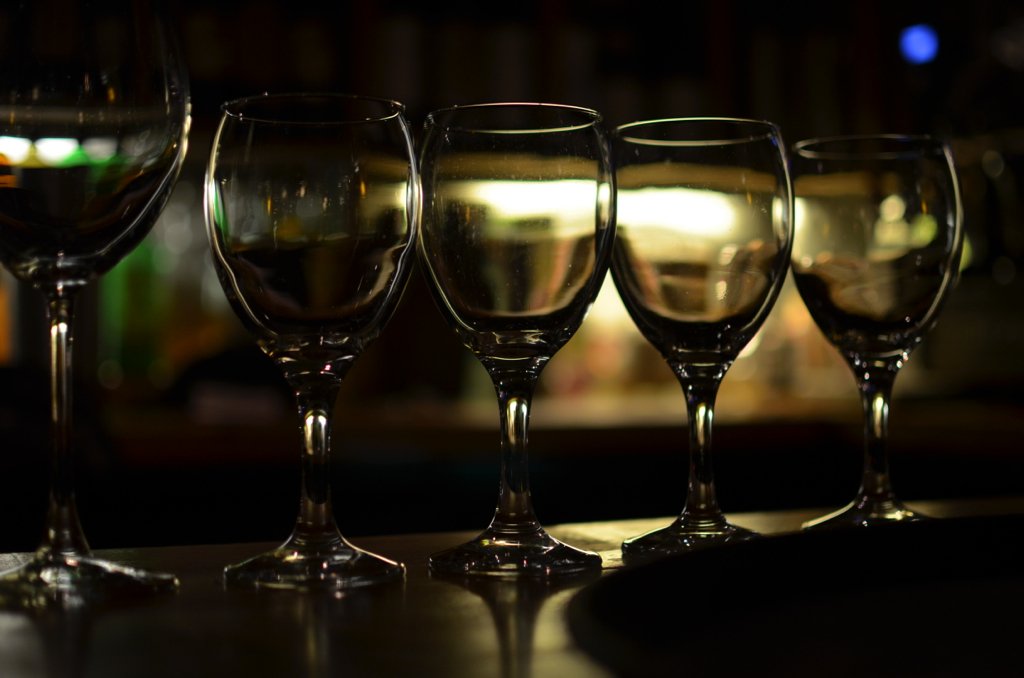
Glass is a mirror, so the job is not to avoid reflections but to choose them.
- Shape the edges. Long, narrow highlights on each side of a glass (from strips of light or white cards placed left and right) give it a defined outline. Black cards do the opposite: they draw dark edges, useful for clear glass against a light background.
- Clean obsessively. Fingerprints, dust and lint show up enormously in close-ups. Use a microfibre cloth and handle glasses by the base.
- Check for stray reflections on screen: your camera, a red jumper, the ceiling lamp.
- Pick simple glassware. Heavy cut crystal is beautiful in person but fragments the light. Thin, clean shapes photograph better, unless the glass itself is part of the story (a hand-blown glass from Murano, a tea bowl from a local potter).
Condensation and ice: the industry tricks
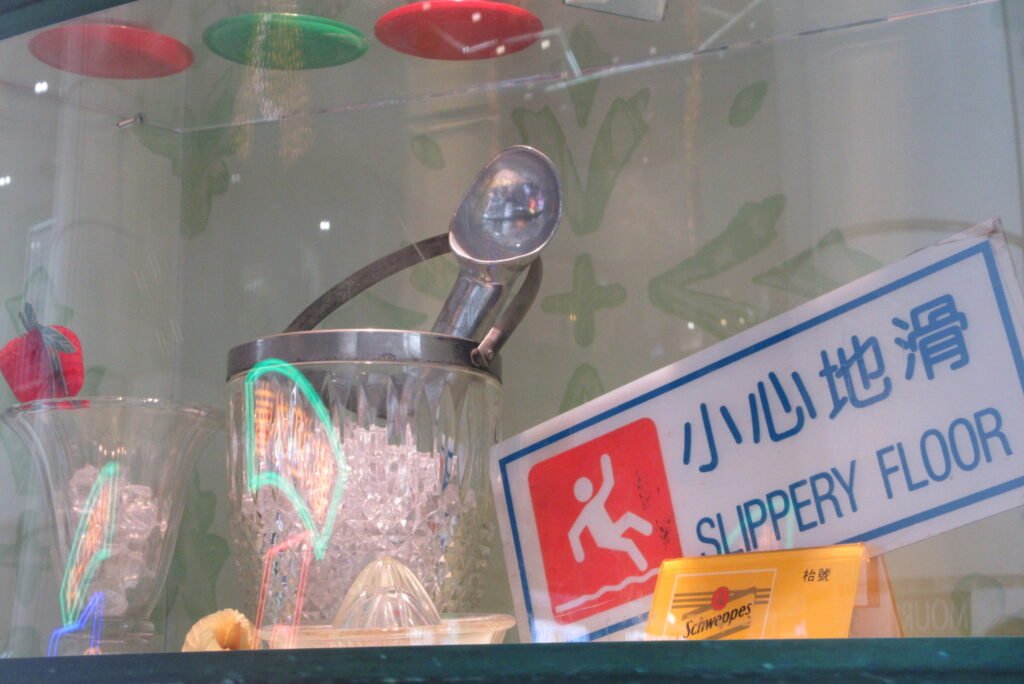
Cold drinks need to look cold, and real cold does not last under lights. Commercial beverage photographers rely on a set of well-known tricks. In a widely shared set of tips for PetaPixel, the New York-based “visual engineer” Steve Giralt describes several of them:
- Glycerin and water for condensation. Plain sprayed water gives a fine, frosted look. Mixing glycerin into the water produces larger drops that stay put instead of running off or evaporating.
- Acrylic ice. Real ice clouds up, melts, shifts position between shots and fogs the glass. Studios use clear acrylic cubes, sometimes hand-carved, that look like perfect ice and never move.
- Dulling spray and diffusion. A light mist of dulling spray on part of the glass, or diffusion paper behind it, softens reflections and separates the drink from the background.
- Mirrors and reflectors behind the drink. These bounce light back through the liquid to brighten it from within.
On a reportage shoot in a real bar you will rarely use any of this. You will use speed instead: ask for the drink when you are ready and shoot the first two minutes. When a trick is fine and when it misleads is covered below.
Colour and garnish
Colour is often the hero of a drink. A few principles help:
- Use complementary tones. An orange spritz pops against blue tiles; a green matcha latte against warm wood.
- Let the garnish say something. A sprig of local mint, a twist of a citrus grown on the island, a cinnamon stick in a Mexican hot chocolate: garnish is where a drink starts telling you where it comes from.
- Keep it fresh. Cut garnish at the last minute and keep backups in cold water.
Composition and props
Drinks are vertical subjects, so shoot them at or just above glass level, where shape and liquid read best. Overhead works for latte art or a table of shared drinks.
Props should explain, not decorate: a labelled bottle, a shaker, beans from the roaster, the hand of the person who made it. If you want a broader toolkit for setting up a scene, our food photoshoot ideas cover styling and props in more depth.
How to photograph different drinks
Coffee
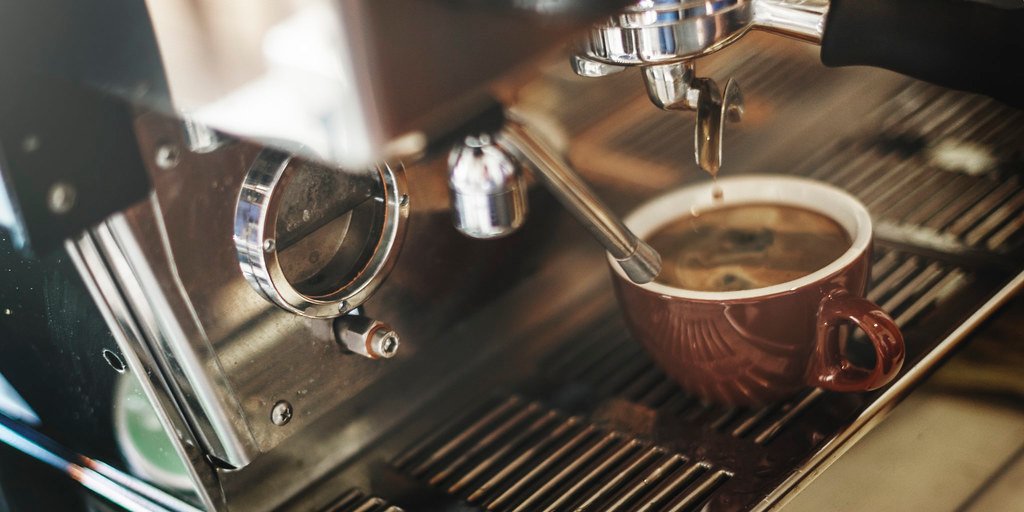
Coffee is opaque, so side light from a window does more than backlight: it shapes the cup and lifts the crema. Steam shows best backlit against a dark background. Be ready before latte art fades.
Cocktails
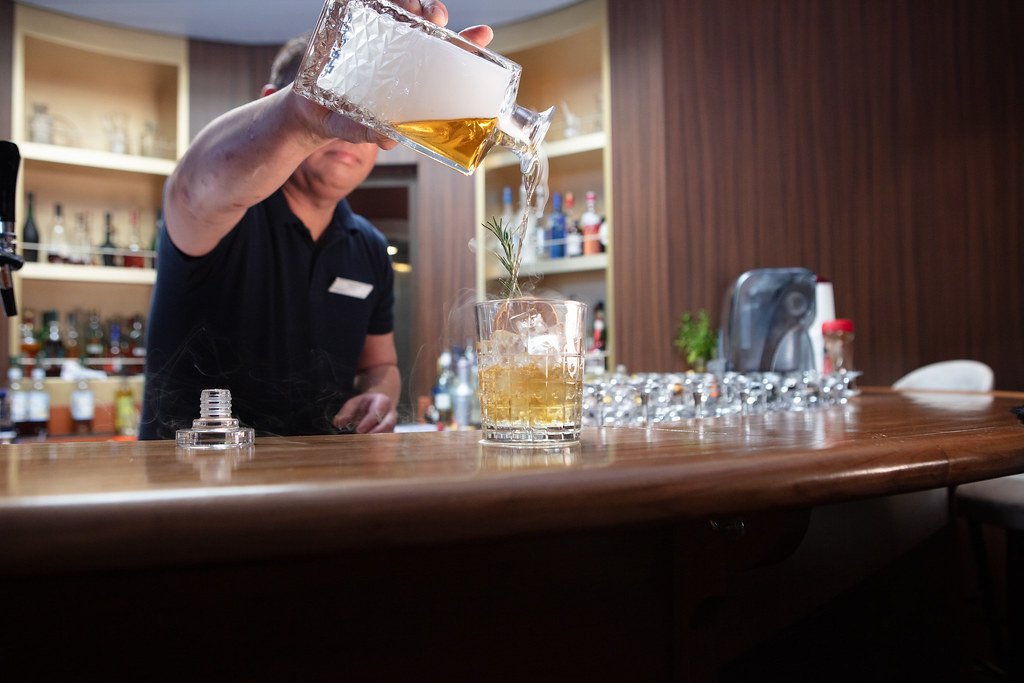
Cocktail photography is where backlight and edge reflections matter most. Shoot the bartender in action as well as the finished drink: the pour, the shake, the flame of an orange peel. Ask about the recipe and its history; that is your caption.
Wine
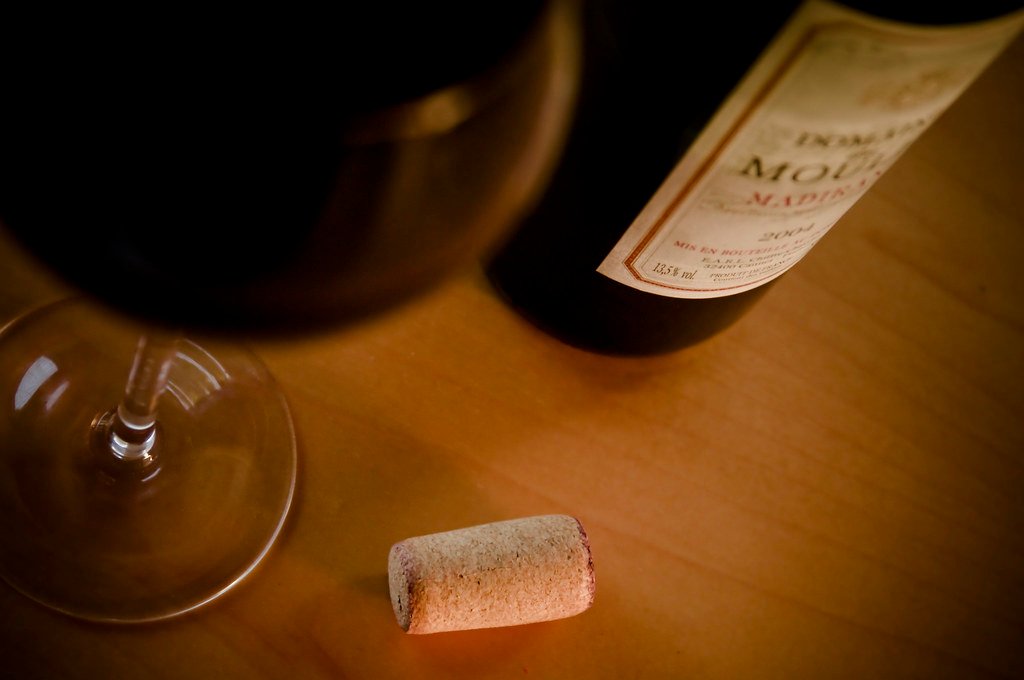
Red wine goes almost black if lit from the front. Backlight it and pour less than you would drink, so more light passes through. On a winery visit, the barrel room and the winemaker’s hands are often stronger images than the glass alone.
Beer
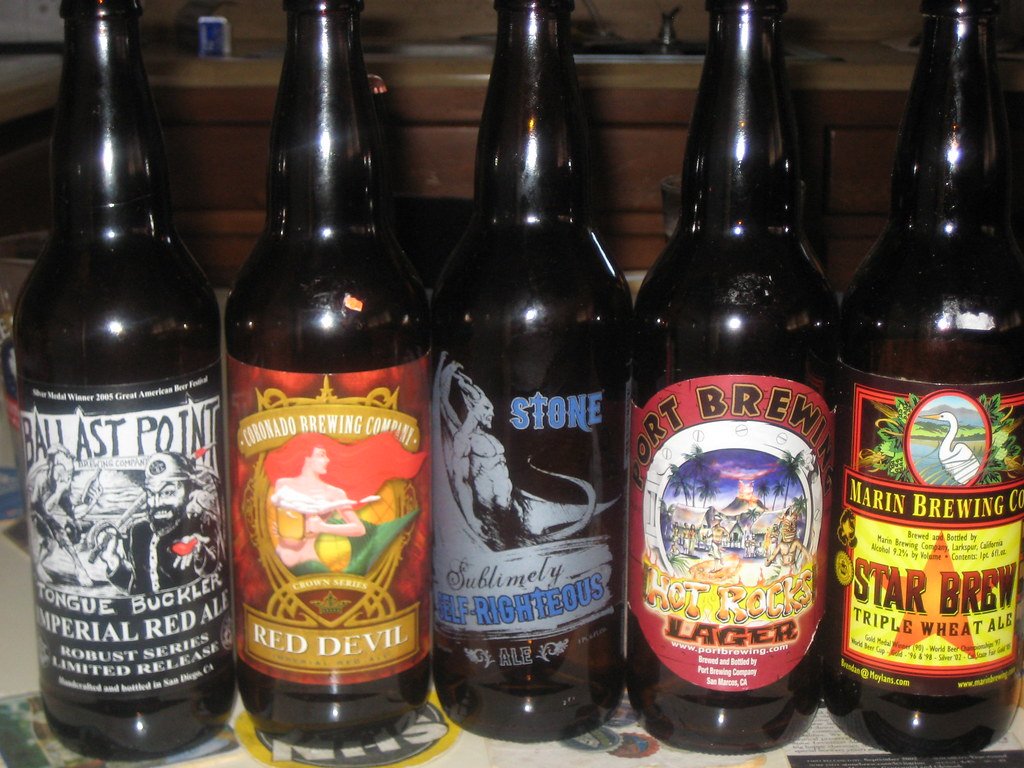
Beer is about the head and the bubbles. Shoot right after the pour, backlight to show carbonation, and wipe away drips.
Tea
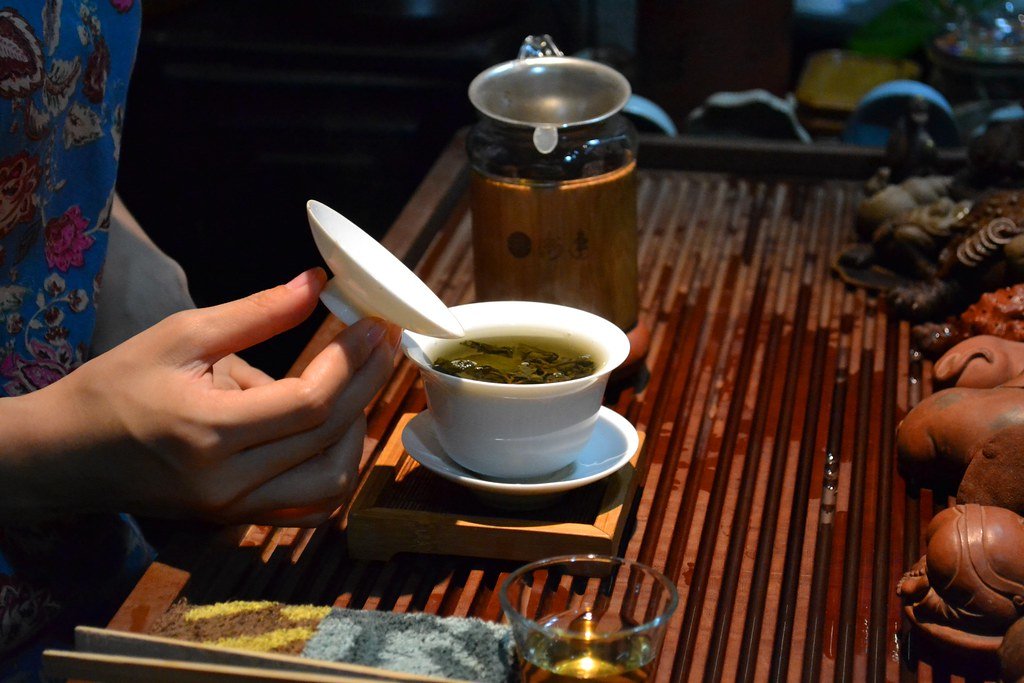
Tea is ritual. In a tea house, the pouring, the vessels and the gestures matter as much as the cup. Steam, again, wants backlight and a dark background. Shoot the whole ceremony as a sequence rather than a single frame.
Drinks as a way into a destination
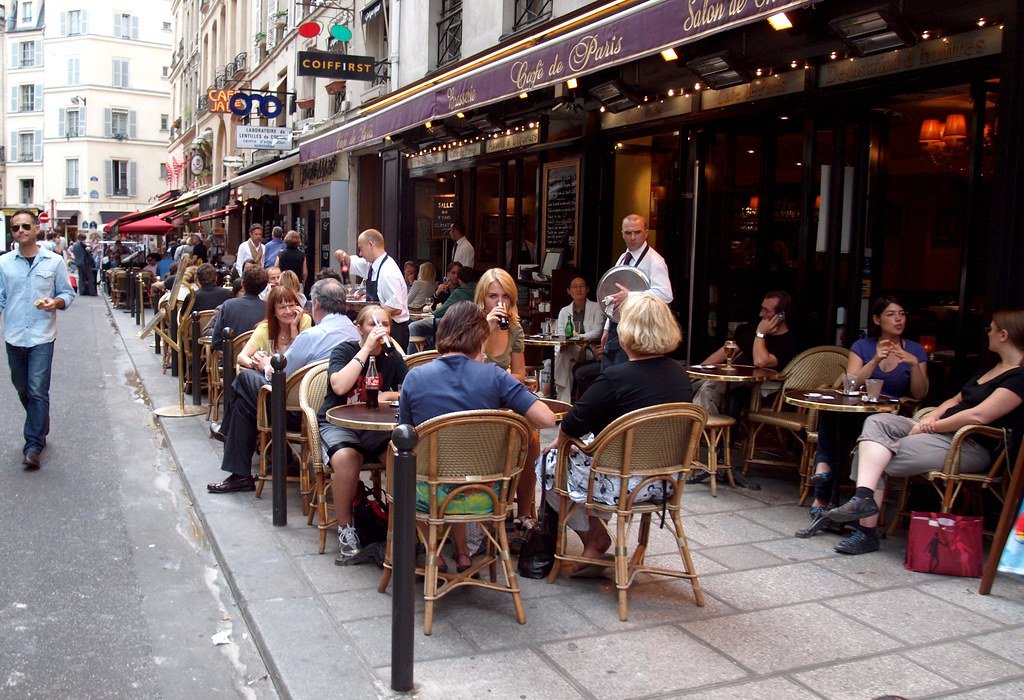
Here is where drink photography becomes travel journalism. Every culture has a drink that people share, and the place where they share it tells you a great deal.
Think of a café in Lisbon at eight in the morning: the espresso (a bica) on a marble counter, the pastry beside it, regulars reading the paper. One frame can carry the rhythm of the city. In a tea house, the low table and the patience of the person serving speak of hospitality. In a neighbourhood bar, the handwritten menu and worn counter say more than the cocktail.
Practical habits:
- Shoot wide, medium and close. One frame of the room, one of the person making the drink, one of the drink itself.
- Talk to people. Ask the barista, the tea master or the bartender about what they are making. Their answers become your captions, and our guide on how to write a food interview helps you turn them into a story.
- Ask before photographing people and staff. It is courtesy, and it usually gets you a better picture.
For the wider craft of shooting on the road, see our travel photography guide.
The ethics of honest imagery
Acrylic ice and glycerin are standard in advertising, where everyone understands the image is constructed. Editorial work is different. If you are reviewing a bar or reporting on a coffee culture, the drink in your photo should be the drink the reader would be served.
A useful rule of thumb:
- Fine: improving light, cleaning the glass, choosing the angle, removing a stray napkin.
- Questionable: swapping the real drink for a styled version, adding garnish the venue does not use, faking a pour or colour in editing.
- When in doubt, disclose. A short note that an image was styled keeps your credibility intact.
Honest images are also better journalism: the cracked cup and the sticky bar top are what make a place feel real.
Drink and beverage photographers worth studying
A short, verified list of names and campaigns to learn from. For a broader selection, see our list of food photographers worth studying.
Steve Giralt
A Brooklyn-based photographer and director who calls himself a “visual engineer”. His studio, The Garage, builds food, beverage and product imagery with cinema robots, slow motion and custom rigs. What to study in his work: how liquids are controlled with engineering and timing, and how much planning sits behind a single splash.
Joanie Simon
A food photographer based in Phoenix, Arizona, and creator of the YouTube channel The Bite Shot, which teaches food and drink photography. What to study in her work: clear, step-by-step explanations of light and styling, ideal if you are learning on a small home setup. See her website.
Rob Grimm
A commercial photographer who teaches beverage and beer photography courses on PRO EDU, covering lighting and retouching for advertising. What to study in his work: the studio side of drinks (lighting setups, pours, bottle highlights) and how much of a commercial image is built in post-production.
The Absolut Vodka campaign
Created by the agency TBWA from 1980, the “Absolut ___” print campaign ran for decades and produced over 1,500 ads built around the shape of the bottle, according to the 4A’s. What to study in it: how a single object, lit and composed with discipline, can carry an entire visual identity.
Common mistakes in drink photography
- Front lighting the drink, which makes it flat and dark.
- Ignoring the background, which bleeds into the colour of the liquid.
- Dirty or smudged glassware.
- Unwanted reflections of windows, lamps or the photographer.
- Waiting too long, so ice melts, foam collapses and herbs wilt.
- No context, so the photo could have been taken anywhere.
- Over-editing colour until the drink no longer looks like itself.
Every glass is a story
Good drink photography is part technique (backlight, controlled reflections, fresh garnish, speed) and part curiosity. The light makes the liquid glow; the place, the people and the ritual make the image worth publishing. Next time you sit down with a coffee in a new city, look at it as a story about where you are.
If you want to turn that curiosity into a career telling stories about food and drink, take a look at the Master in Gastronomic Journalism and Communication.